Interior painting is a popular home improvement project that can transform the look of a room. However, it requires a considerable investment of time and effort. It can be done by a professional, or as a do-it-yourself project. Regardless of the level of skill, you should plan for the task to take between two and six days, and you can expect to spend $2 to $6 per square foot including all materials and labor.
Paint is a liquid that contains pigments, solvents and additives to create color and a smooth finish. It can be made from plant, mineral or animal-based materials, or synthetically produced. The paint can also be made with a variety of gloss levels, such as flat, semi-gloss or high-gloss.
The most common types of paint include latex, acrylic and oil-based. They’re made to adhere to a variety of surfaces, such as wood, plaster, brick or metal. They’re usually available in a wide range of colors.
Before deciding what kind of paint to use, consider your decorating style and your budget. Choose a color that matches or compliments your furnishings and decor, and avoid using dark colors as they can make rooms feel smaller.
A well-chosen color can open up a room and increase the value of your home. It can also create a calming, tranquil atmosphere that’s perfect for relaxing.
Whether you’re doing your interior painting on your own or hiring a professional, it’s essential to prepare the walls thoroughly before laying down the paint. This involves cleaning the surface and removing any mildew or dust. It also means applying a base coat to prevent the paint from chipping or peeling, as well as priming the walls for better coverage.
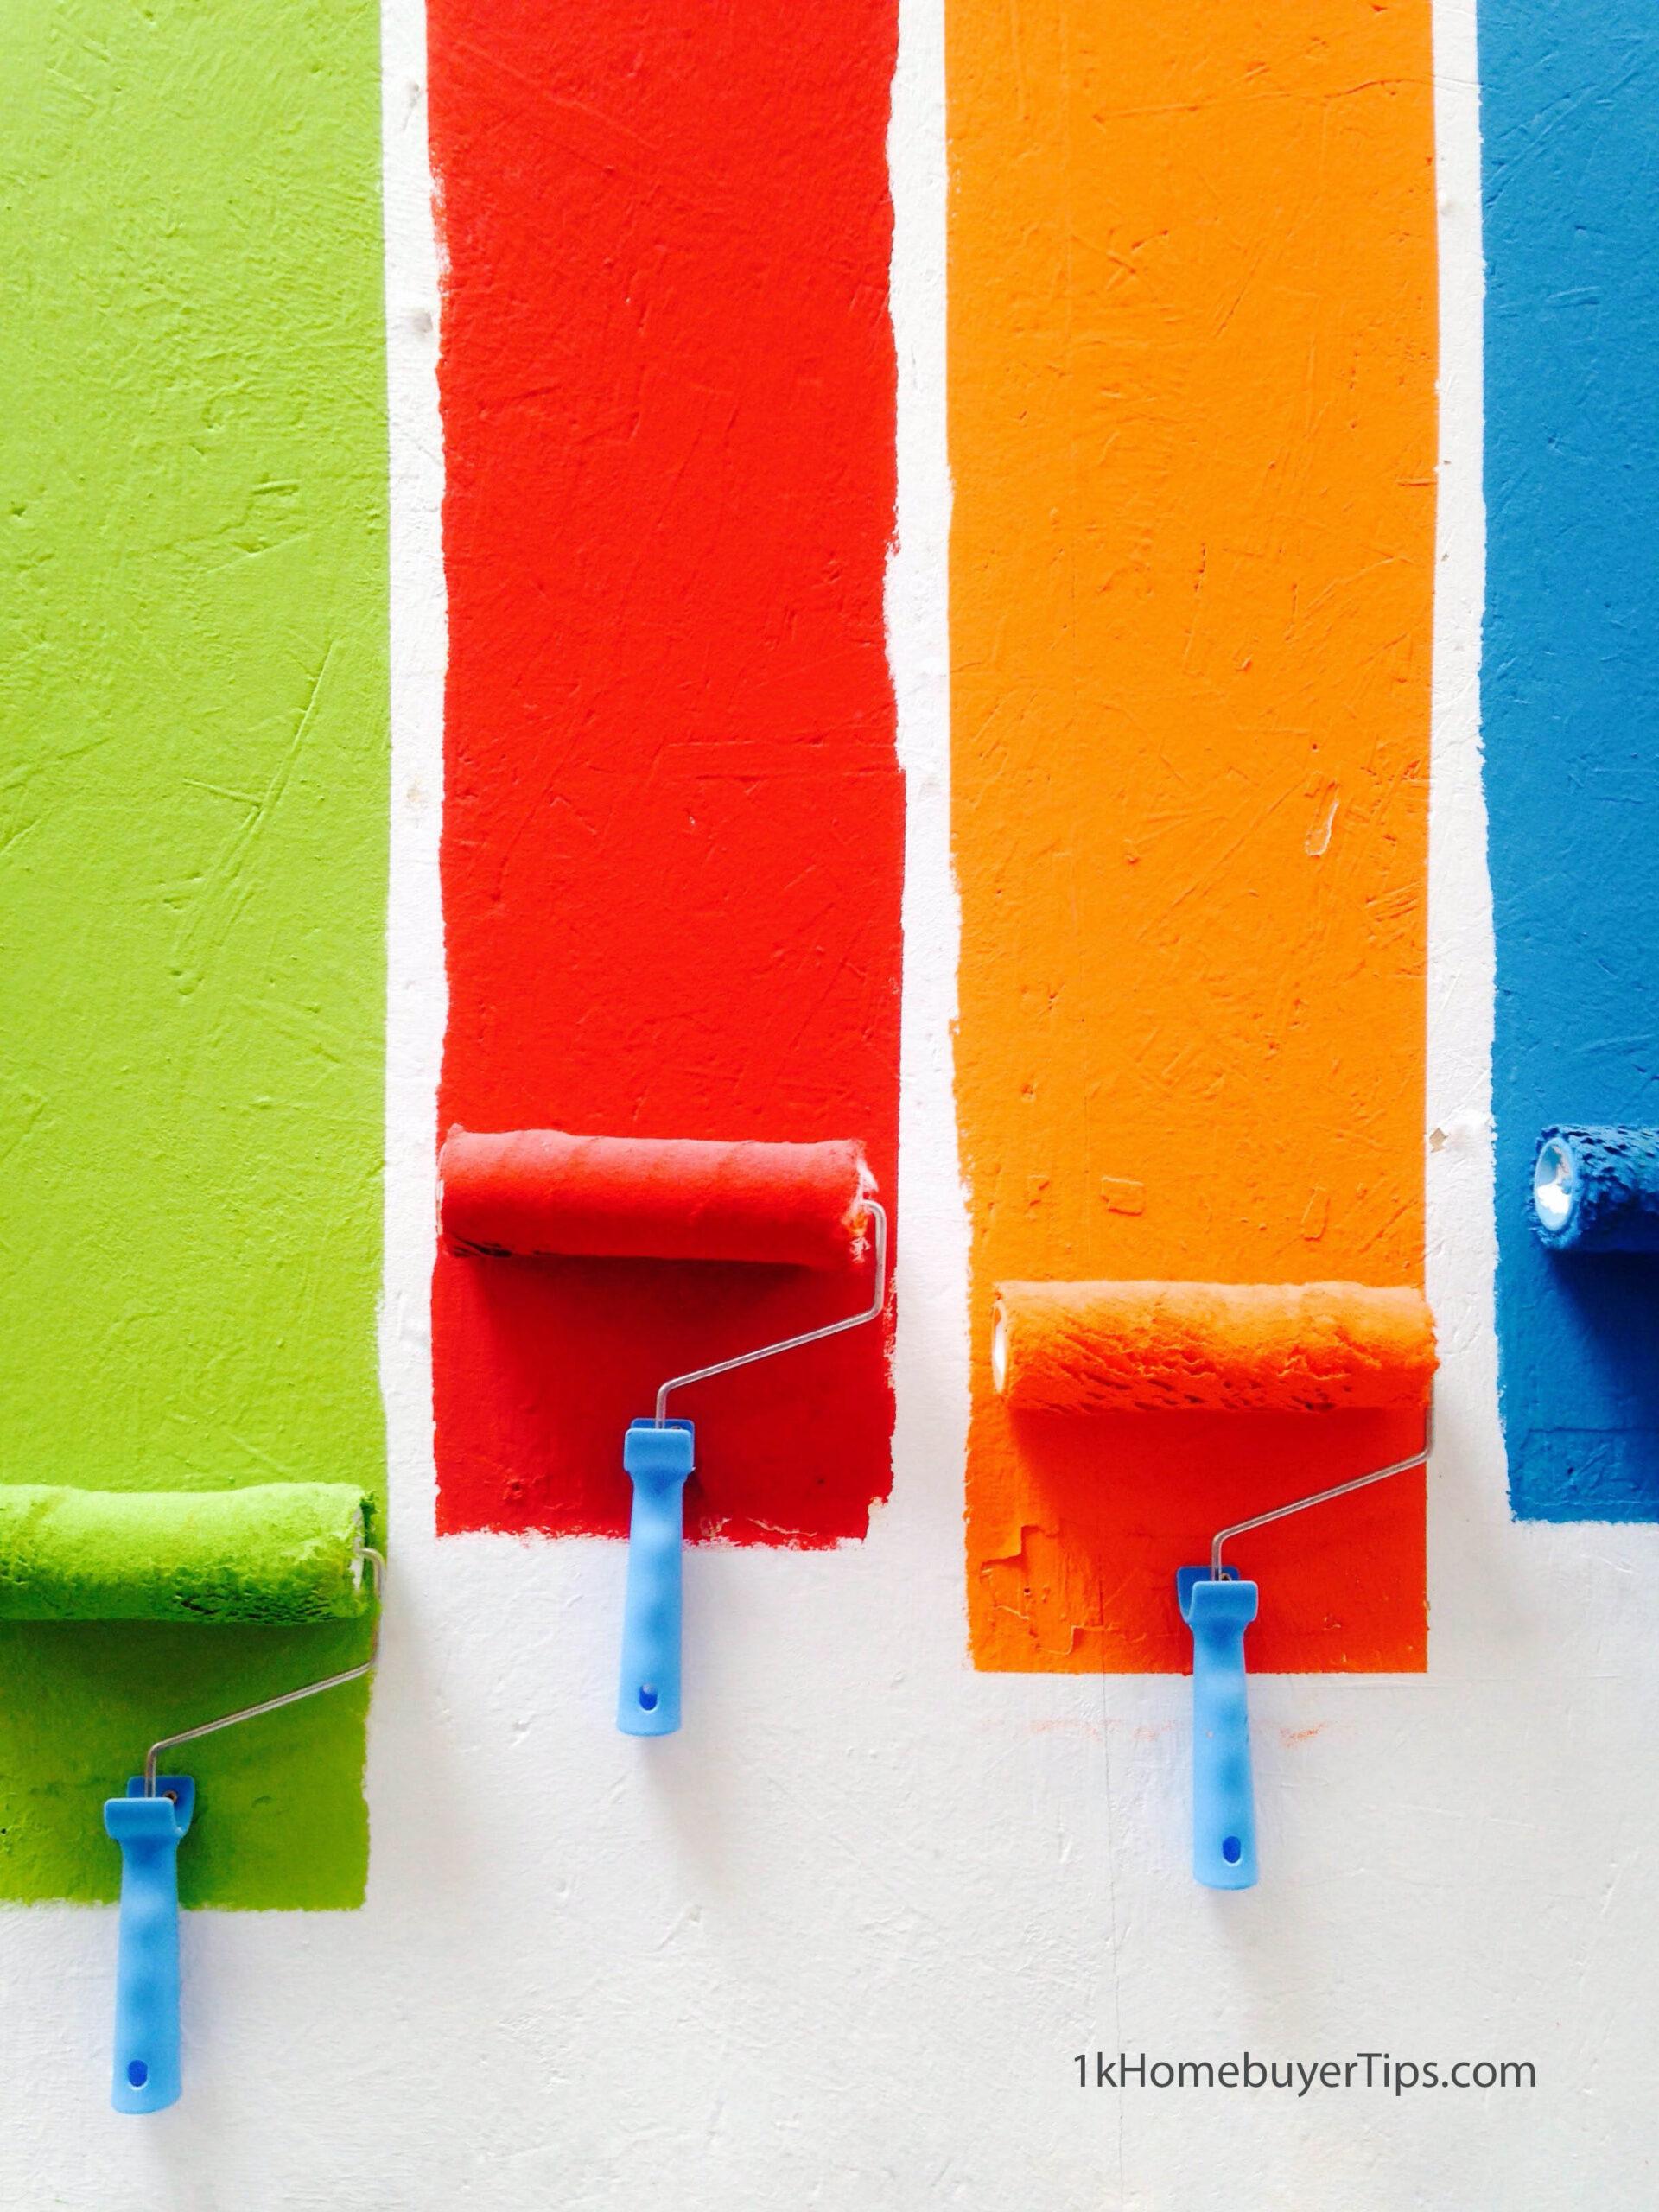
Then, it’s time to roll the paint onto the wall. A roller is much more efficient than a brush and allows you to paint large areas quickly. It also allows you to get into all corners and reach hard-to-reach places.
To avoid lap marks, start near a corner and run the roller up and down the entire height of the wall, moving over slightly with each stroke. This technique makes the walls look more uniform and can reduce the number of blotches that develop as the paint dries.
Trim and Woodwork: Using a trim brush, dip the brush into the paint and wipe off any excess before painting the edges of the trim. Then, paint a 4-inch wide swath around the edges with the trim brush. Or, if you prefer the “cutting-in” method, paint an edge about 4 inches inward as well.
Depending on the type of paint, you may need to add more than a gallon to cover your trim and woodwork, so make sure to check with your local retailer before buying. A painter will be able to help you estimate how much paint to buy.
Drywall Texture: If your walls are textured, such as “orange peel” or popcorn, they will require extra painting materials and a more complicated application process. This will make the overall project more expensive, as a gallon of paint won’t cover as much on textured walls as it does on smooth ones.
If you are considering doing this painting yourself or wondering if you should hire someone to do it for you, just contact me: Laura@1khomebuyertips.com and I can give you recommendations for either the materials or trusted companies and individuals who will complete the work for you.